3-5. PHPとJavaScriptの連携
更新日:2025年12月7日
3-5. PHPとJavaScriptの連携について解説します。
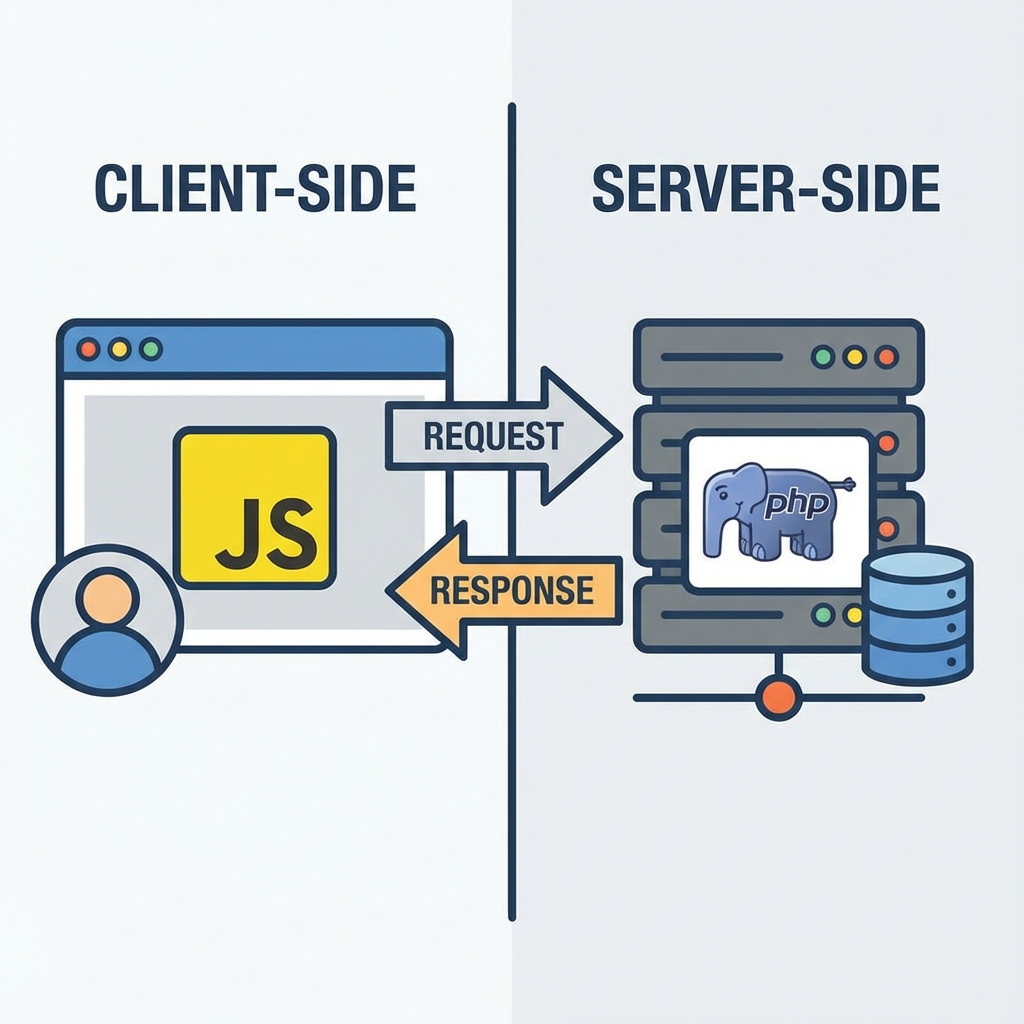
※画像は生成AIによるイメージです。
PHPとJavaScriptを連携させることで、サーバー側とクライアント側の長所を活かした 高機能なWebアプリケーションを開発できます。
基本的な連携パターン
| パターン | 方法 | 用途 |
|---|---|---|
| PHPからJSへデータ渡し | JSON埋め込み | 初期データの設定 |
| Ajax通信 | 非同期リクエスト | 動的データ取得 |
| フォーム送信 | POST/GET | データ送信 |
PHPからJavaScriptへのデータ渡し
<?php
$settings = ["theme" => "dark", "language" => "ja"];
?>
<script>
const settings = <?= json_encode($settings) ?>;
console.log(settings);  // {theme: "dark", language: "ja"}
</script>
Ajax通信による連携
JavaScript側
async function loadUserData(userId) {
    const response = await fetch('/api/user.php', {
        method: 'POST',
        headers: {'Content-Type': 'application/json'},
        body: JSON.stringify({user_id: userId})
    });
    return await response.json();
}
PHP側
<?php
header('Content-Type: application/json');
$input = json_decode(file_get_contents('php://input'), true);
$userId = $input['user_id'] ?? null;
echo json_encode(['id' => $userId, 'name' => '山田太郎']);
?>
フォーム処理の連携
<form id="userForm" action="process.php" method="POST">
    <input type="email" name="email" id="email" required>
    <button type="submit">送信</button>
</form>
<script>
document.getElementById('userForm').addEventListener('submit', function(e) {
    const email = document.getElementById('email').value;
    if (!email.includes('@')) {
        e.preventDefault();
        alert('無効なメールアドレス');
    }
});
</script>
リアルタイム更新の実装
// ポーリング方式(定期的に問い合わせ)
setInterval(async () => {
    const response = await fetch('/api/notifications.php');
    const notifications = await response.json();
    updateNotificationUI(notifications);
}, 5000); // 5秒ごと
セキュリティ考慮事項
| 脆弱性 | 対策 |
|---|---|
| XSS | htmlspecialchars()でエスケープ |
| CSRF | トークンによる検証 |
| SQLインジェクション | プリペアドステートメント使用 |
まとめ
PHPとJavaScriptの連携により、サーバー側の堅牢な処理とクライアント側の動的な表現を組み合わせられます。 セキュリティに注意しながら、適切な連携方法を選択することが重要です。
免責事項
本コンテンツは2025年12月時点の情報に基づいて作成されている。最新の情報については公式ドキュメントを参照されたい。
本コンテンツは2025年12月時点の情報に基づいて作成されている。最新の情報については公式ドキュメントを参照されたい。